So, I promised a tutorial on how to spin a super bulky single thick and thin yarn…. It’s in the post – promise!
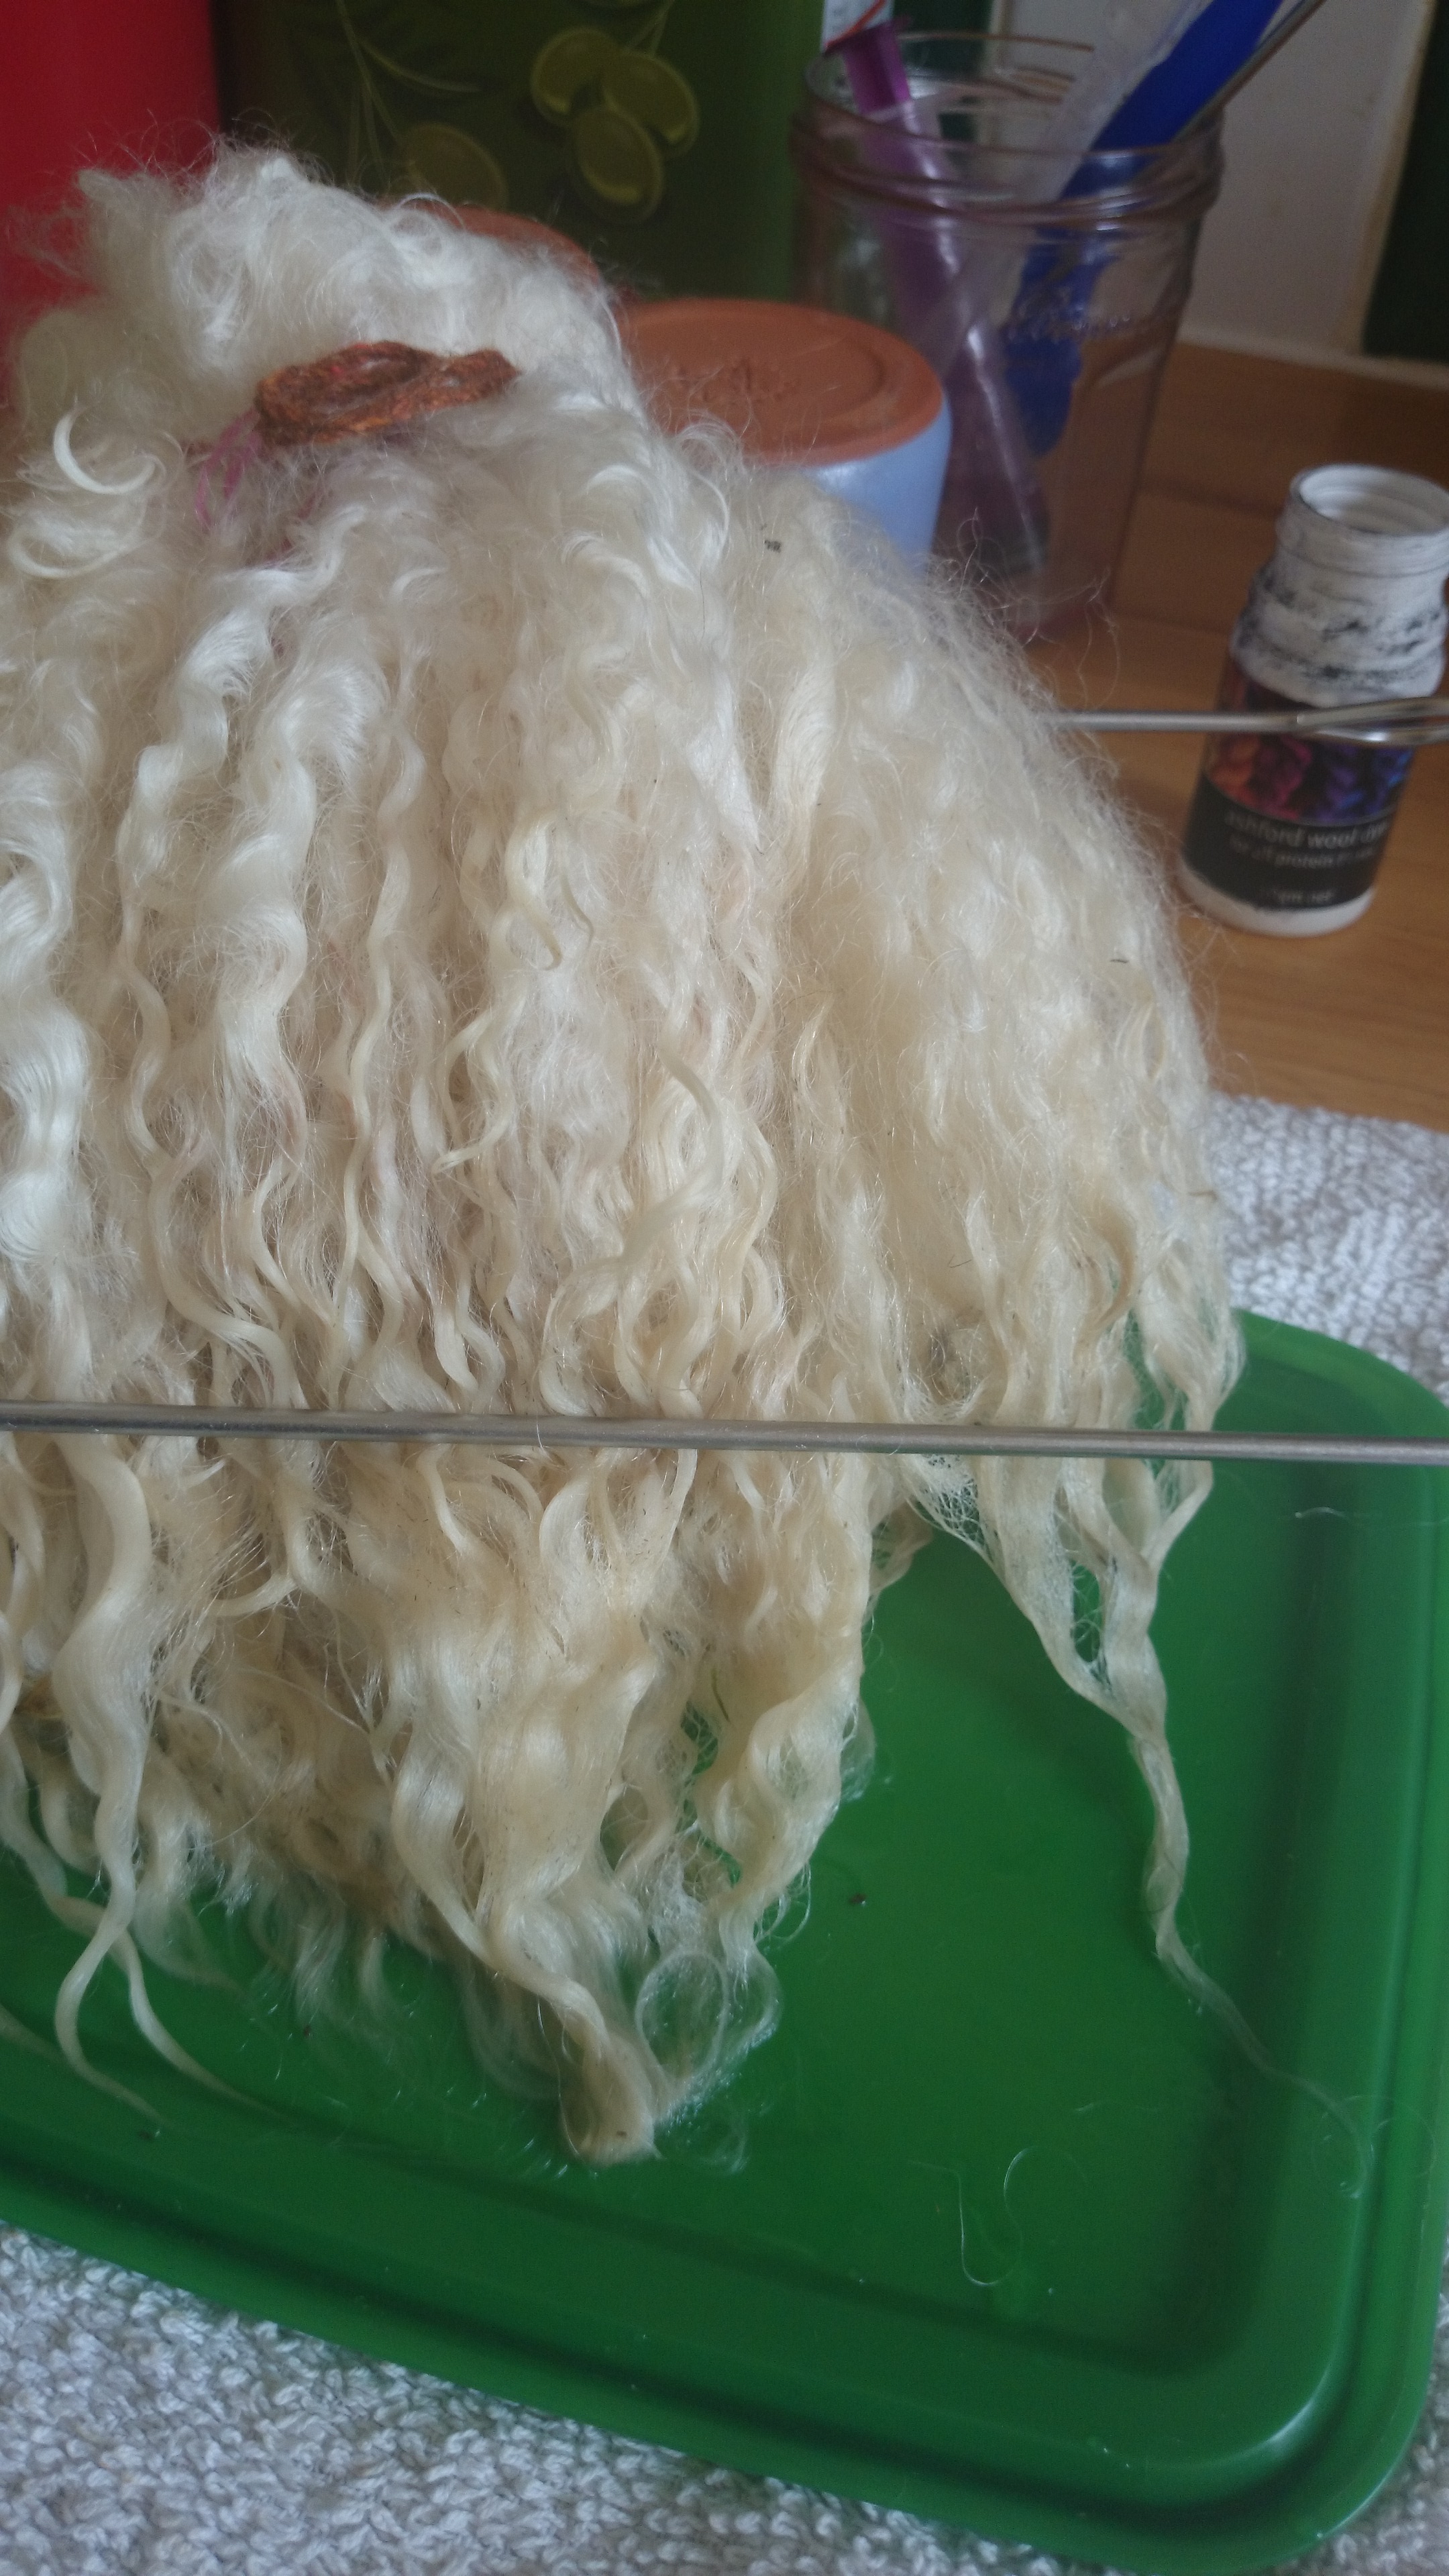
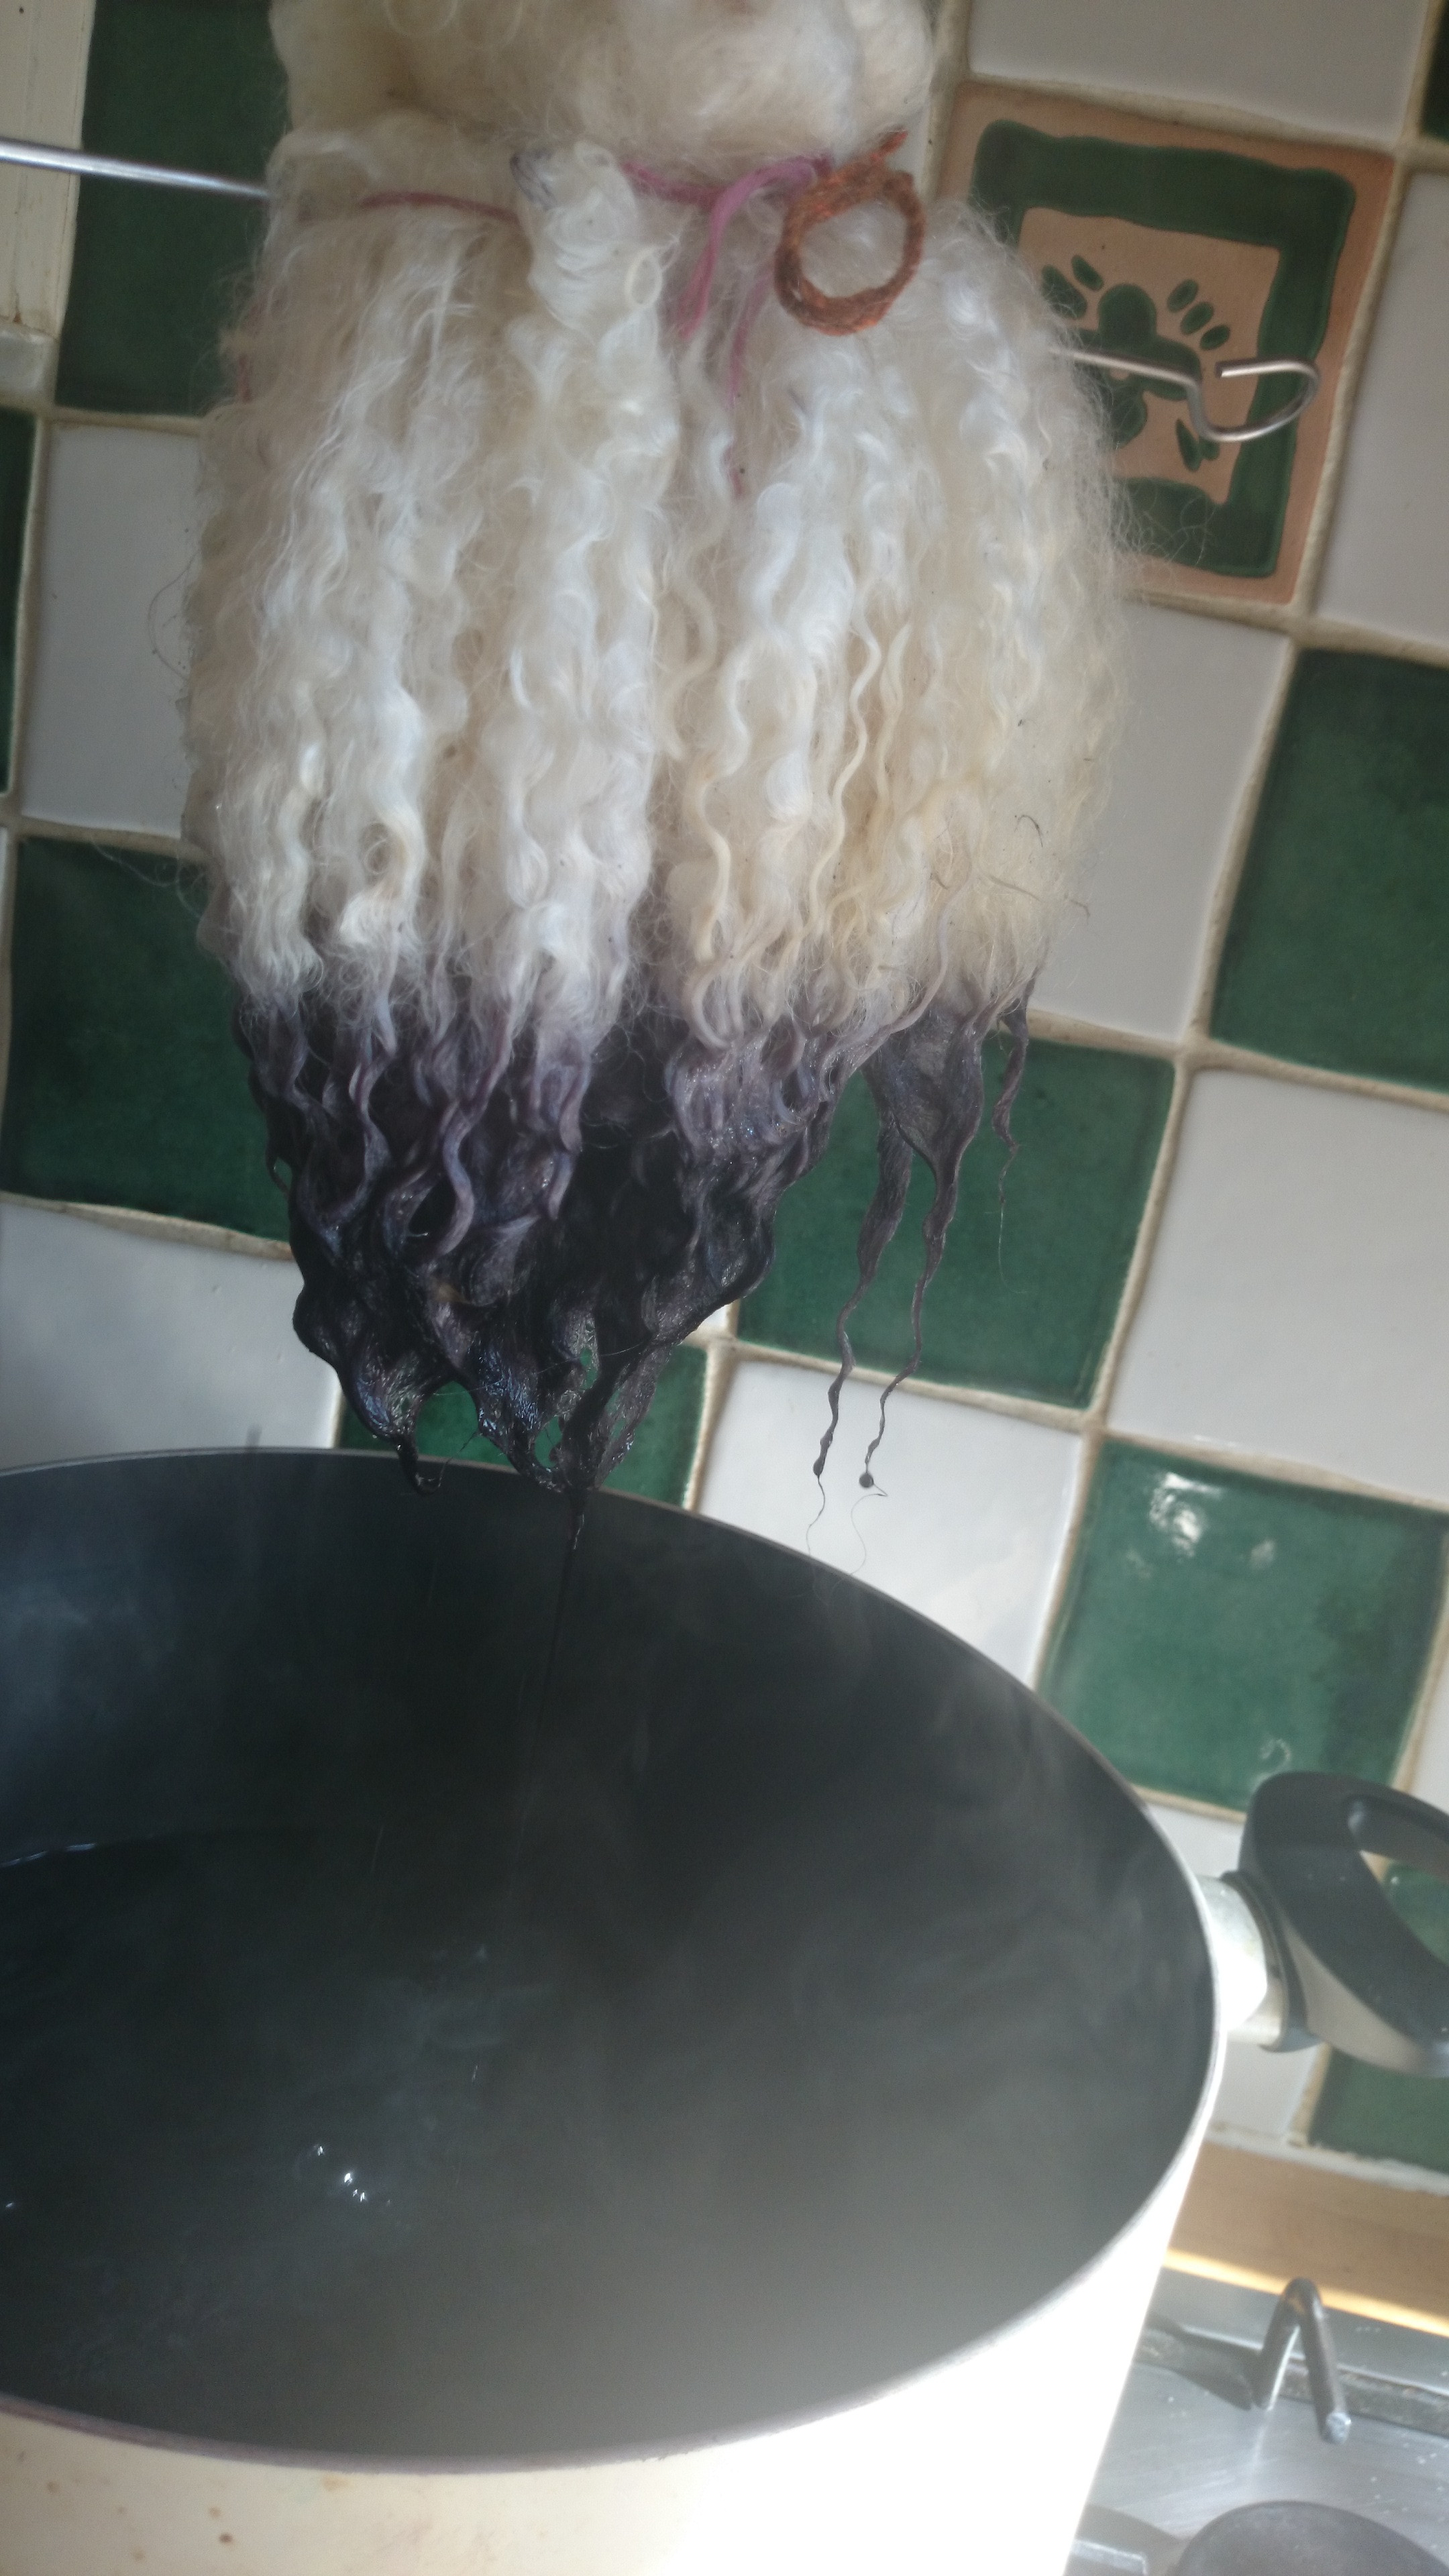
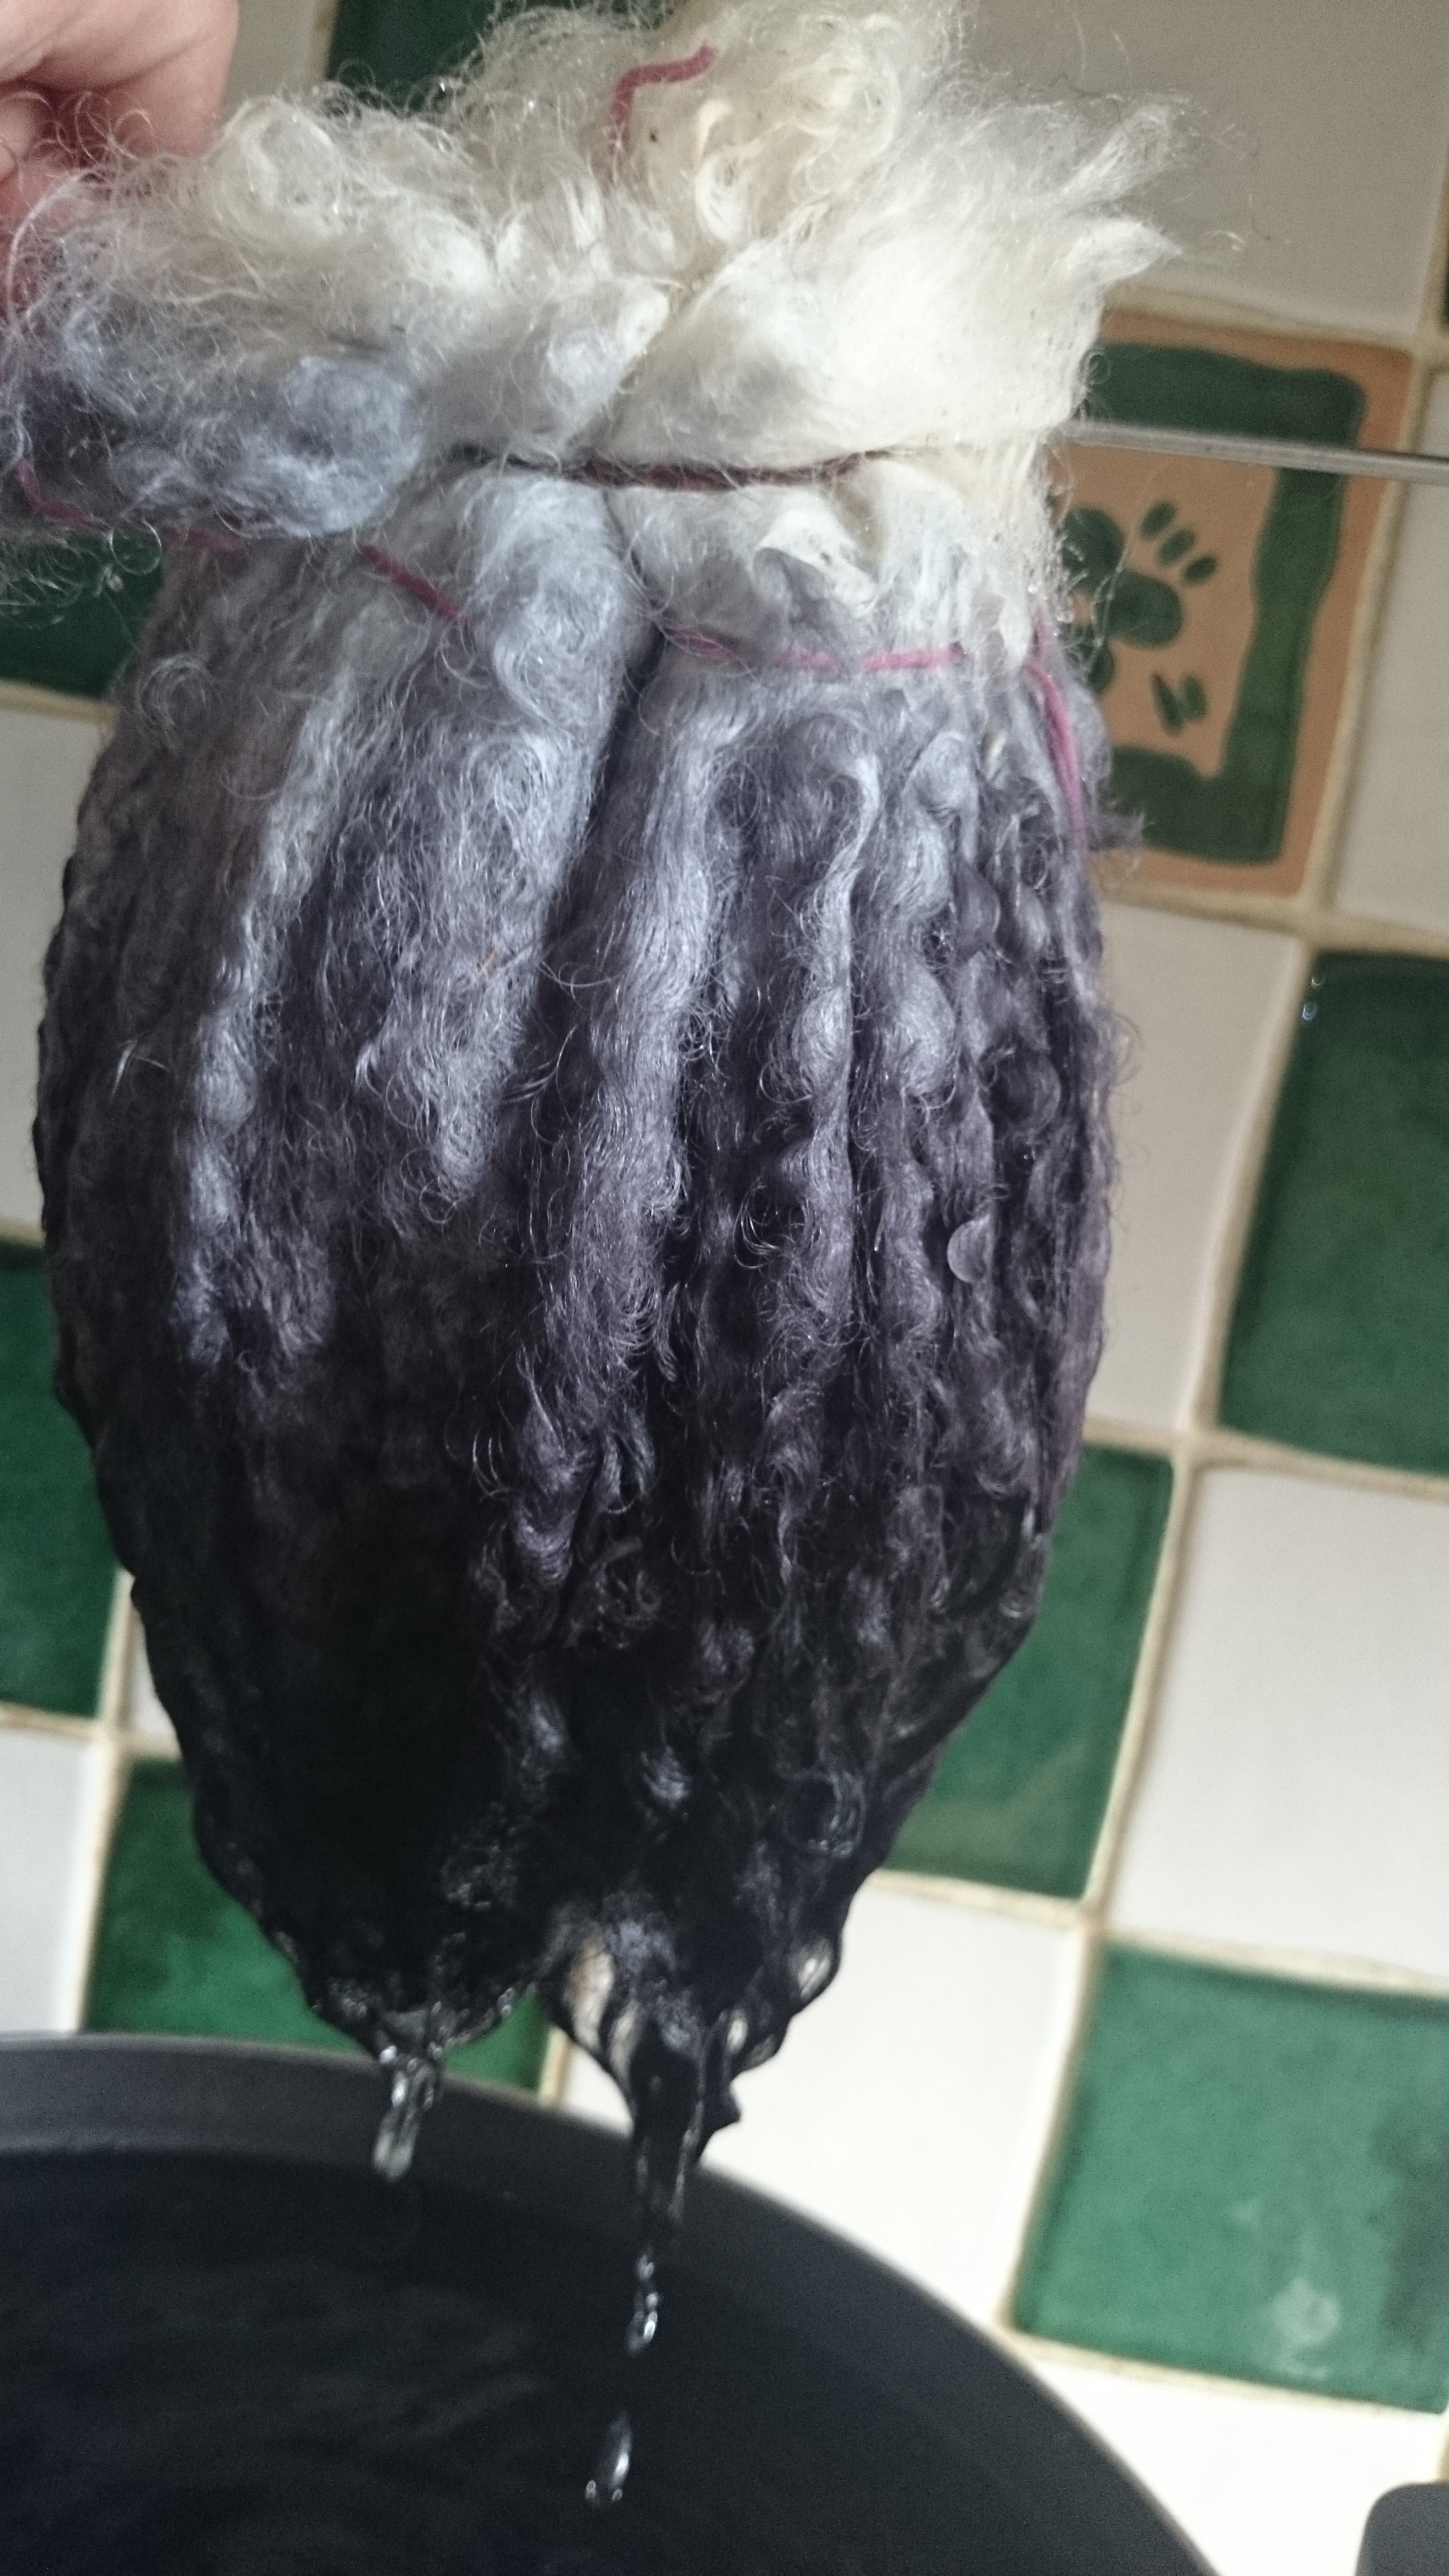
What happened? Well, I’ve been washing wool, fleeces and fleeces going through the process, and I’ve put myself on a spinning ban until I had made some headway. It was totally necessary, since the backlog of unprocessed fleece was creating a household problem. No space to move, and a sheepy smell lingering in my hallway. Lingering? Ok, I’m kidding no-one, and my kids were getting a little outspoken about it. My guests were more diplomatic, but it was still mentioned. So, once I’ve washed a few fleeces that are now happily drying – and hoorah, today is sunny and beautiful, so outdoor drying will happen – I sat down to spin. And oh, I had this beautiful bundle of hand dyed Teeswater locks, calling my name.
I couldn’t resist. I simply have to floof them out and turn them into a yarn. It is just an ordinary lock-spun yarn, but these yarns are so beautiful, since they use the natural curl and length of the locks to create texture. Here’s a little how-to if you happen to have some locks, and want to give this a try. Although this is not a complicated yarn to make, I do want to say this is not really a beginners yarn. I think it helps having your draft and twist under control before you attempt a lockspun yarn, otherwise you may end up with something that doesn’t hold together. There’s actually not a whole lot of drafting happening, however, the occasional tug and pull has to take place to prevent huge clumpy underspun bits. Most longwool types with good definition works for this yarn: Teeswater, Wensleydale, Mohair, Gottland… oh, short attention span in this sentence, but I have some gloriously soft shearling Gottland waiting too… now where was I ..? Yes! Longwool. Don’t be restricted by my list. If you have a longwool type at hand, go on and try making this yarn.
Step one:
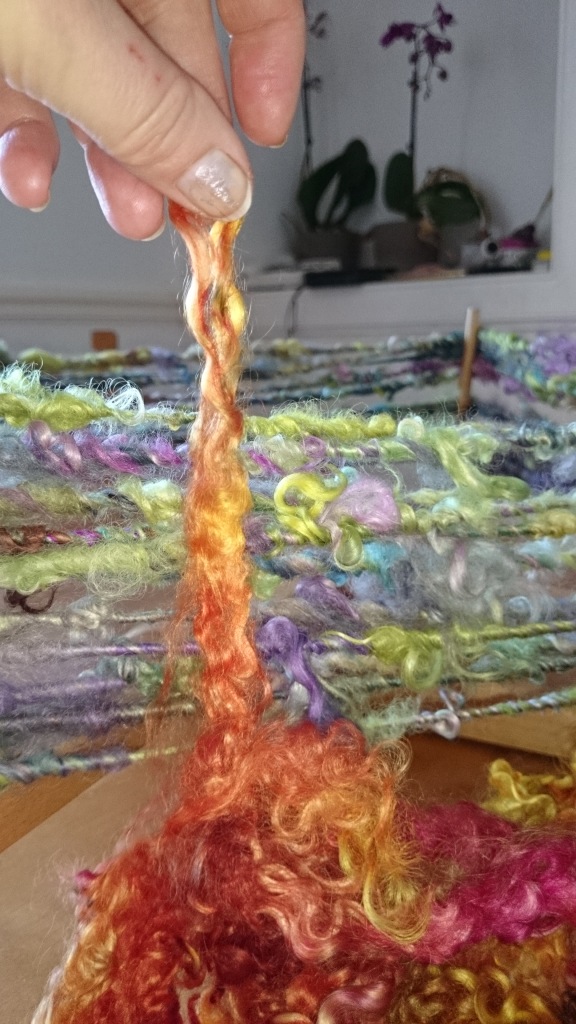
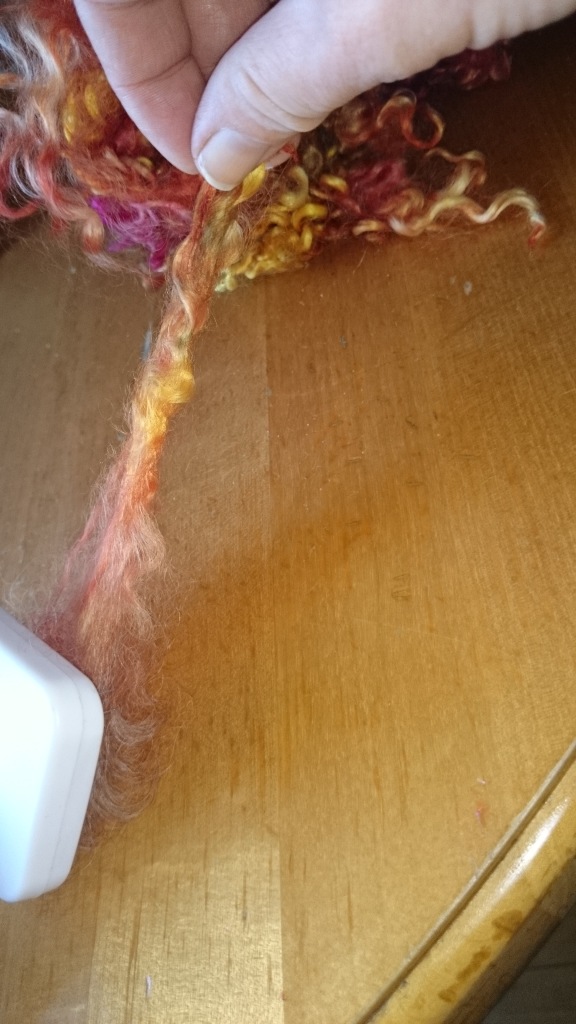
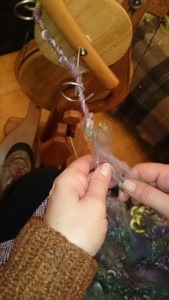
Fluff your fleece. Pull the fleece slightly apart, and take a good handful of locks out to flick card, so that you can add them for longer textures throughout your spin. Hold on to that lock at the end, hold on to the fleece, and pull.
I used some different locks here to show you the process, as the first pics were a bit blah.
How to separate a lock
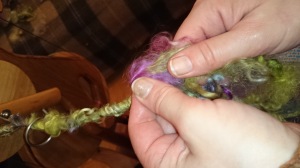
Flick card the ends of the locks to give the fiber a place to grip onto your yarn in the making. I use a dog brush. The main thing to remember is to hold that lock tightly, to keep it’s lovely structure, and to use a flick, flick, flick motion with your chosen brush.
Use a flicking motion. And hold onto that lock very firmly
And spin. Add your flicked locks at a 45 degree angle. The twist is in the process of grabbing and securing this lock onto my yarn.
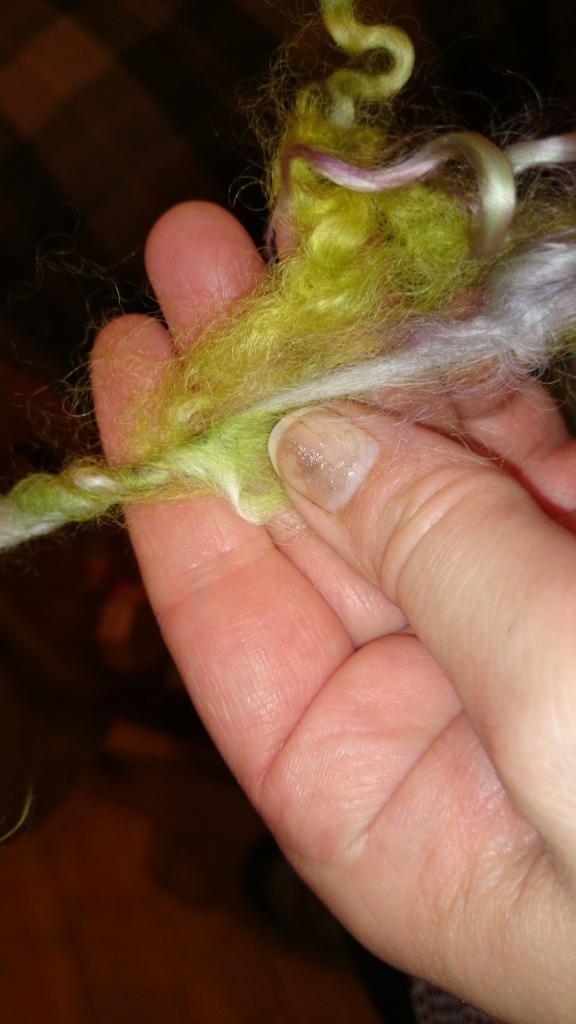
Add the lock by holding at 45 degree angle. This leaves a tail bit hanging and spices up the bits where locks are scarce, or drafting evened your wool out too much.
Spinning some more, keep going….
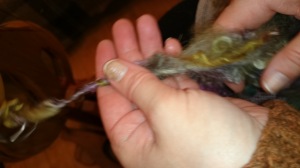 a bit of drafting, a bit of allowing locks to pass through your fingers for that gorgeous curly texture…
Spin, spin….
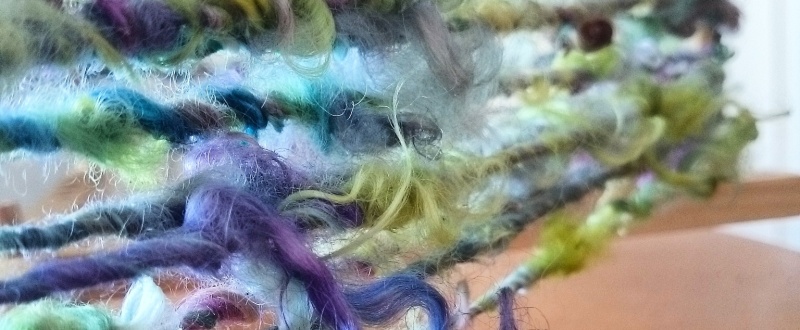
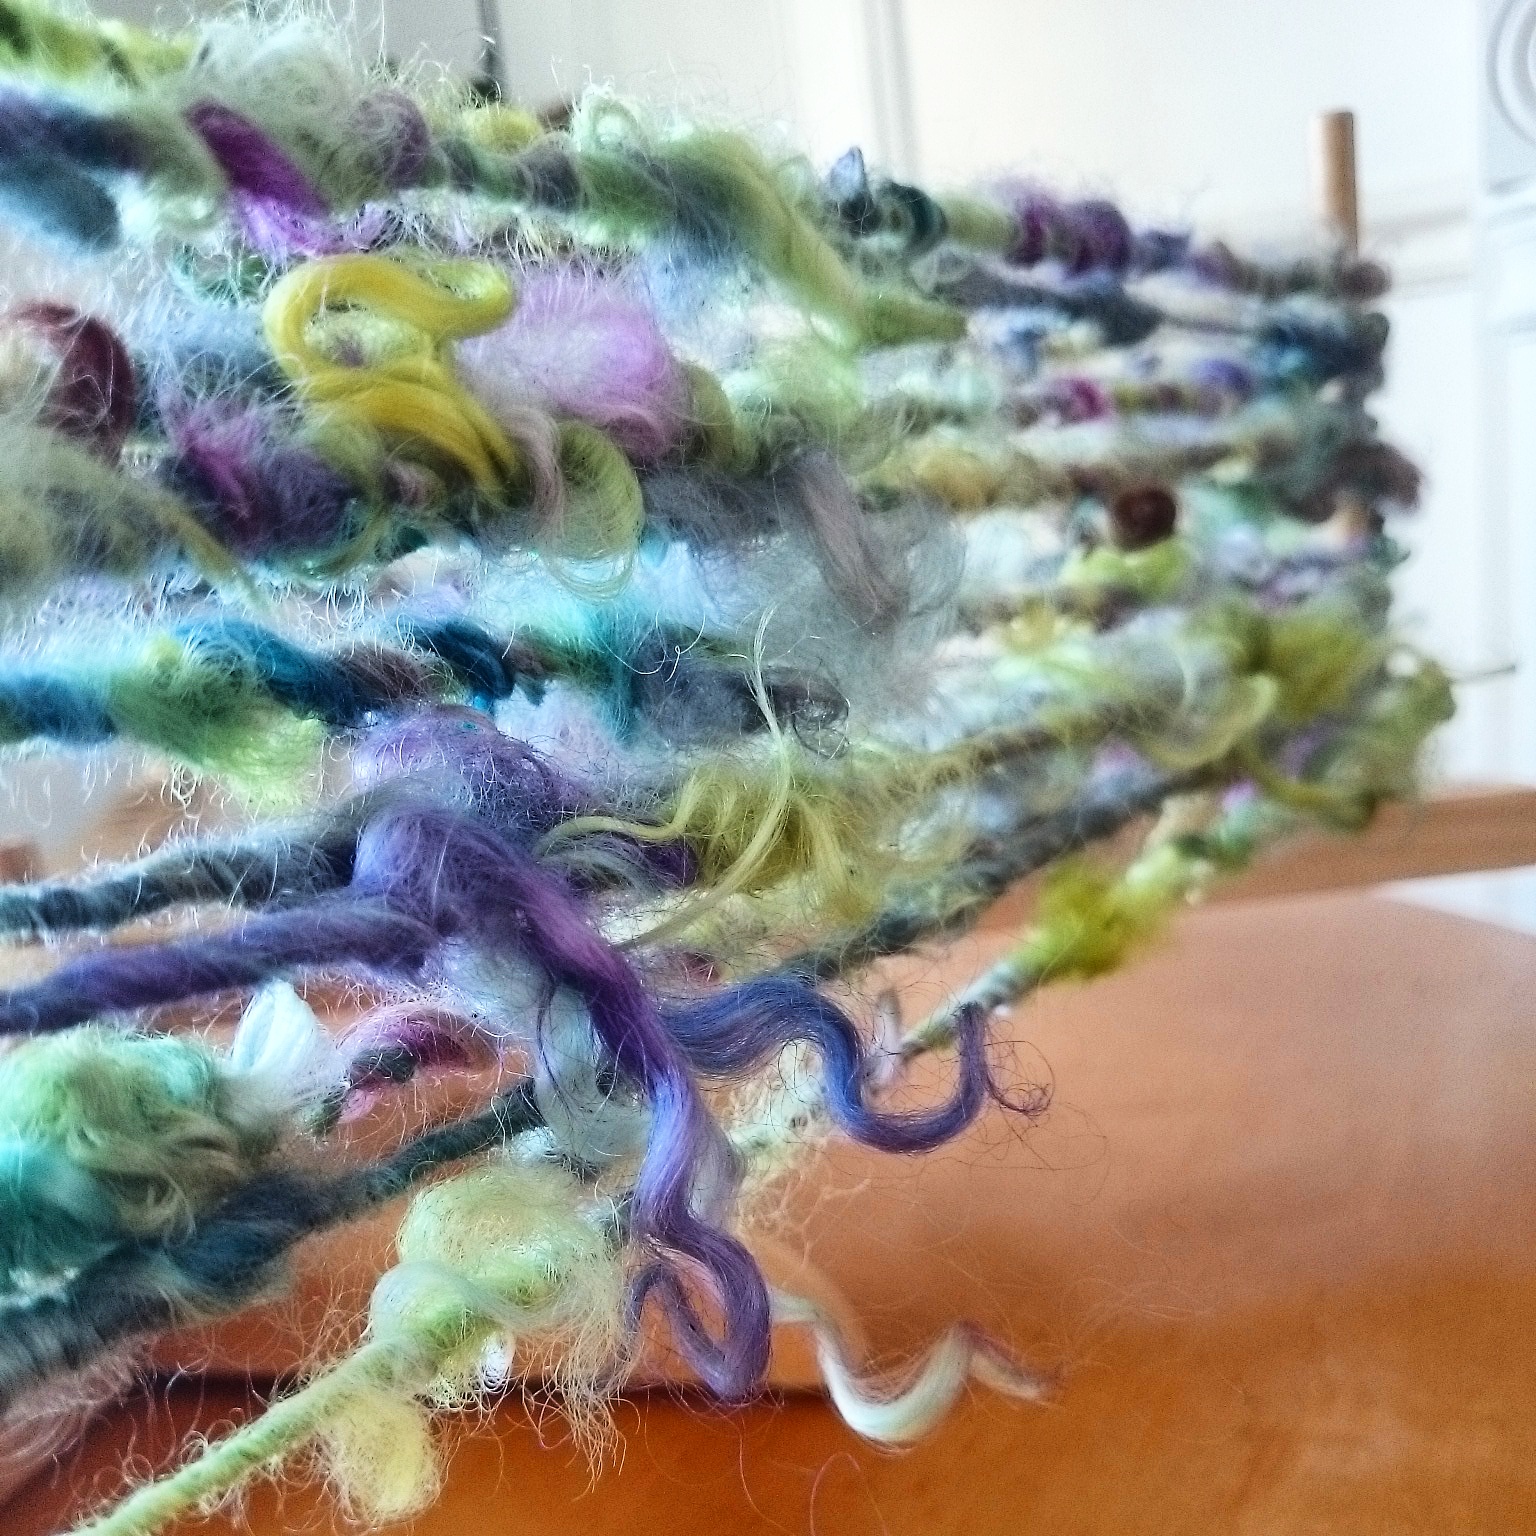
And TADAAA! Here’s a lockspun yarn on the skein winder. Waiting for a post-spun wash.

And here it is, textured, natural, and allowing the characteristics of your longwool to shine through.
If you want to see more handspun yarns art yarns, or some goreous hand dyed locks for your new project, head on over to my etsy shop at http://www.etsy.com/shop/clovetree
Art yarns like this one are great to embellish a knitting or crochet project, and awesome to weave with.